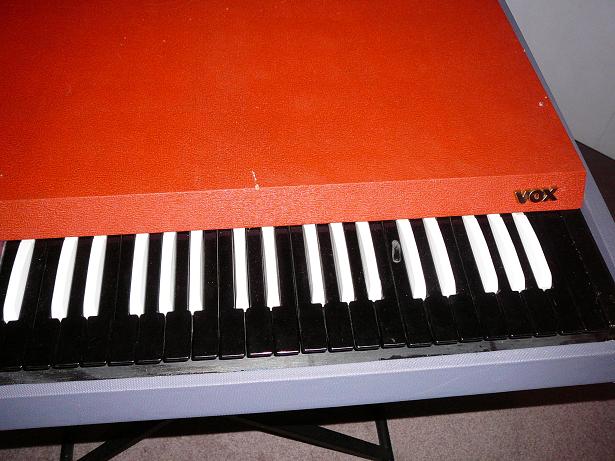
VOX Continental Organ Project II
Model V-301E
Mfg Italy 1967
Serial#10400331
CLICK HERE TO GO BACK TO PROJECT #1 WHICH IS A COMPLETED ITALIAN VOX SERIAL NUMBER 1041833
12/1/2007
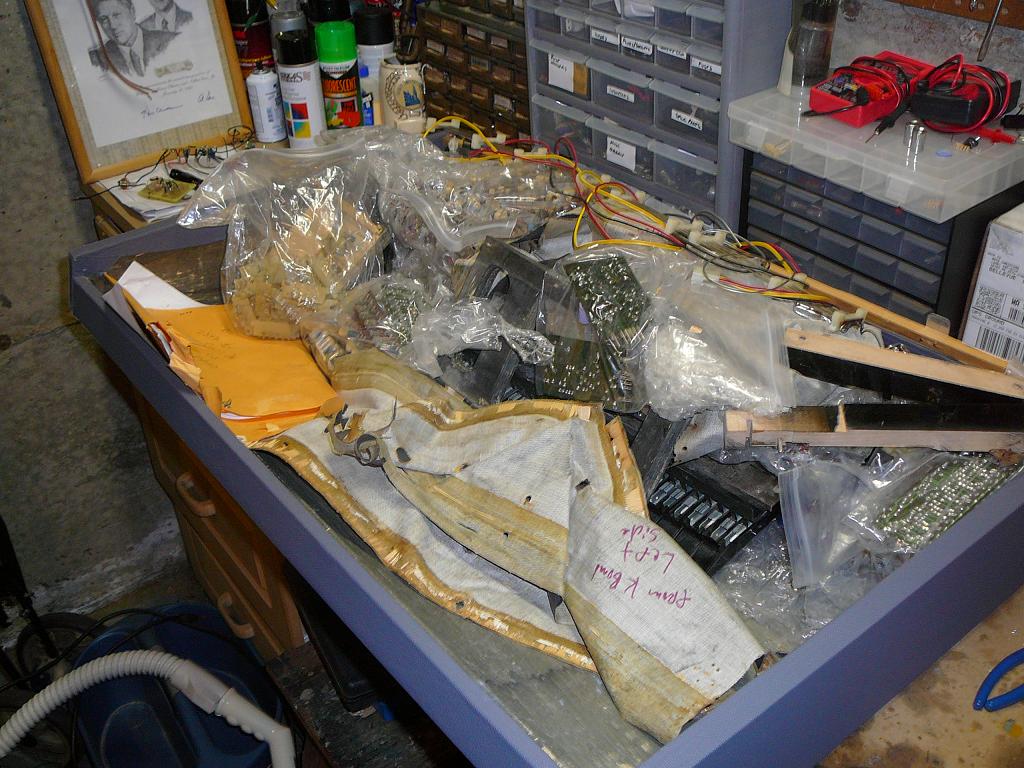
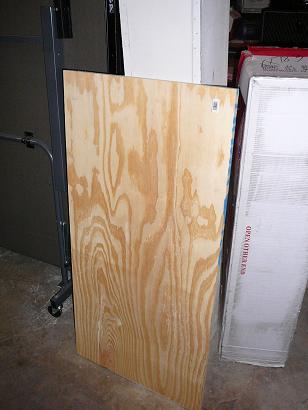
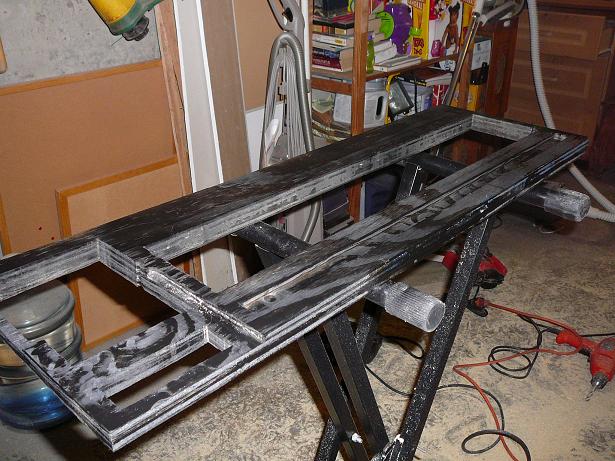
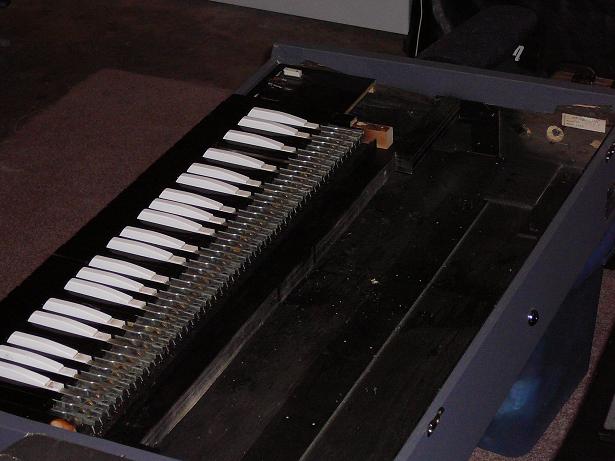
I was contacted to assemble this organ from the ground up. It is currently completely dissassembled. With the owners permission I will post pictures of the project and a description of how it comes together so it can aid other vox organ enthusiasts in the repair of their organs. It pretty much can't get any worse than this folks. This organ as you can see from the photos is completely taken apart. Having been able to track down the previous owner through the miracle of the Internet, I learned that it was perfectly functional prior to being taken apart. The first order of business will be to catalog the parts on hand. At first glance, there are some boards which have been cracked in shipment and those will need to be repaired. Some tracings have been broken and boards themselves are cracked apparently due to the parts shifting around in transit. We will get to the repair of those pieces. But for now here are photos of the organ as delivered and first order of business will be to catalog the parts.
|
|
|
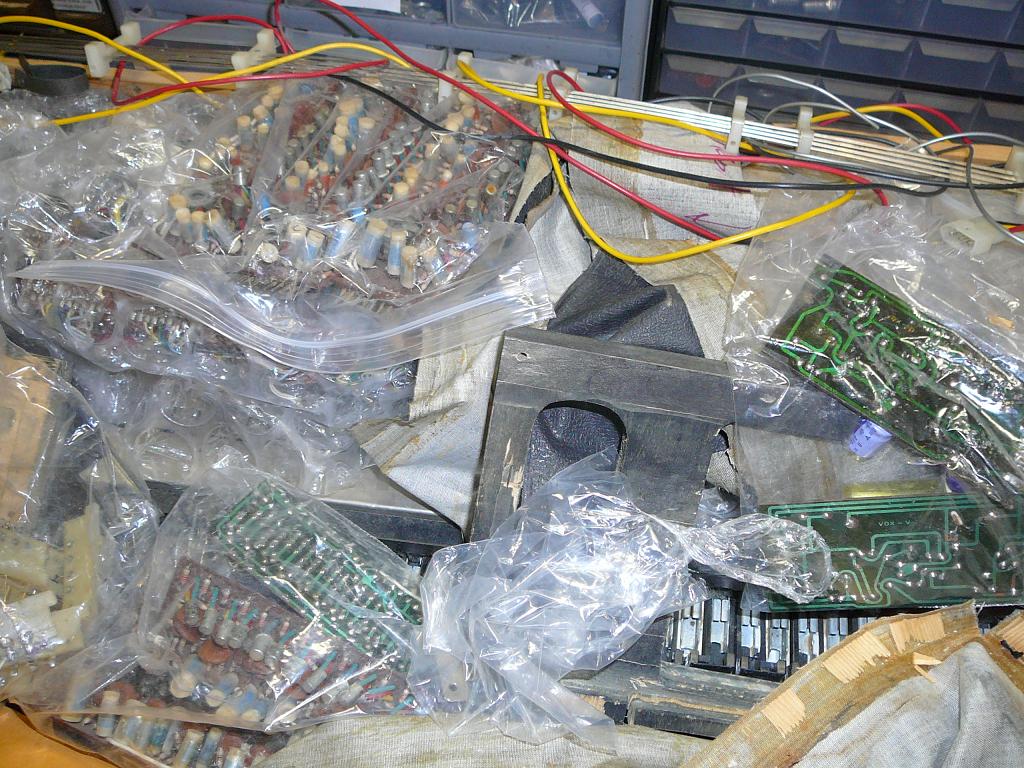
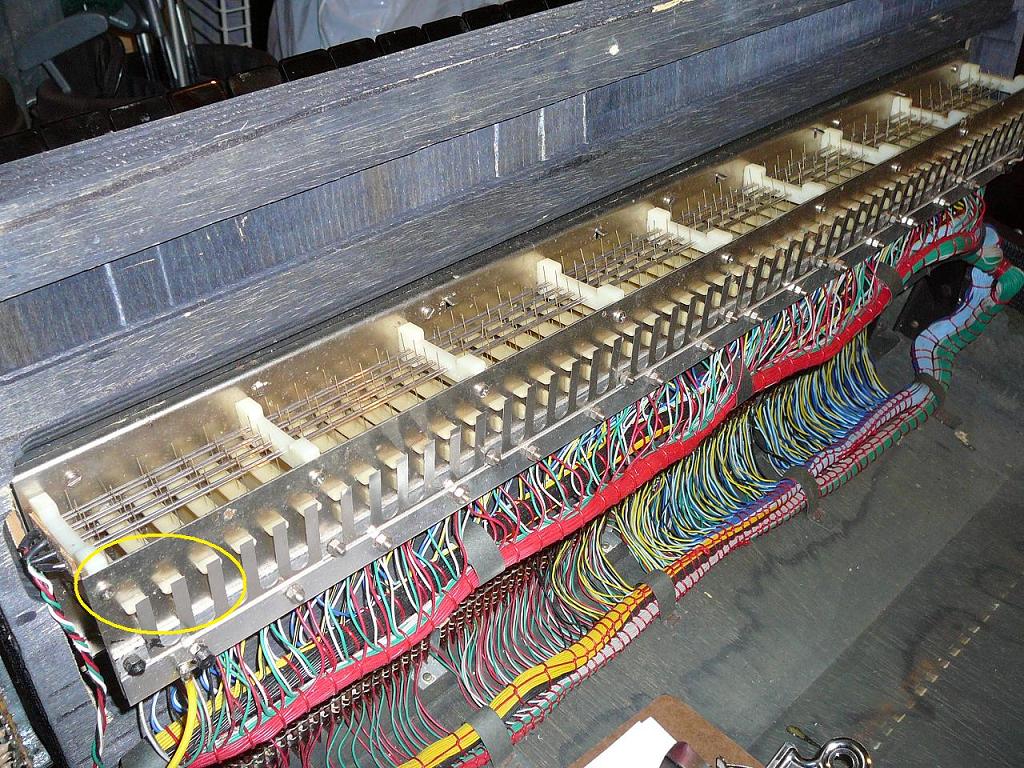
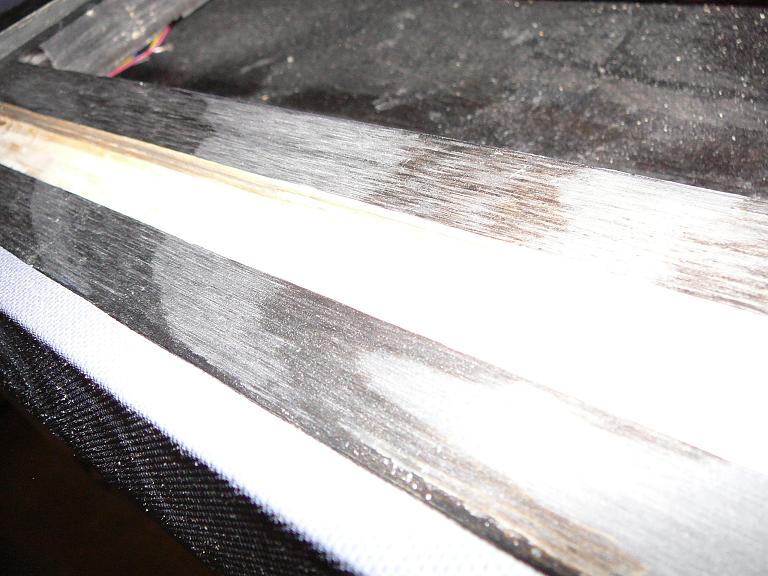
After carefully laying out each part on the workbench, I unfortunately found that a couple of big pieces are missing. 1) The wooden frame that the keybed mounts onto has been chopped and only a small piece of it is left 2) The aluminum piece that mounts under the key contact levers is missing. This is the piece that has slits milled in it for the plastic key contact levers to slide into. I think I have a good shot at being able to remanufacture the wooden frame but that aluminum piece is custom machined. We will require a donor part to continue. The project is on hold while we look for that part. Meanwhile, here are some pics of the parts and also a picture of my working V301E/2 and the aluminum piece (corner circled) that we need. If anyone out there has a parts organ that may be able to supply the missing pieces we need, please send email to nate@theamericannight.com

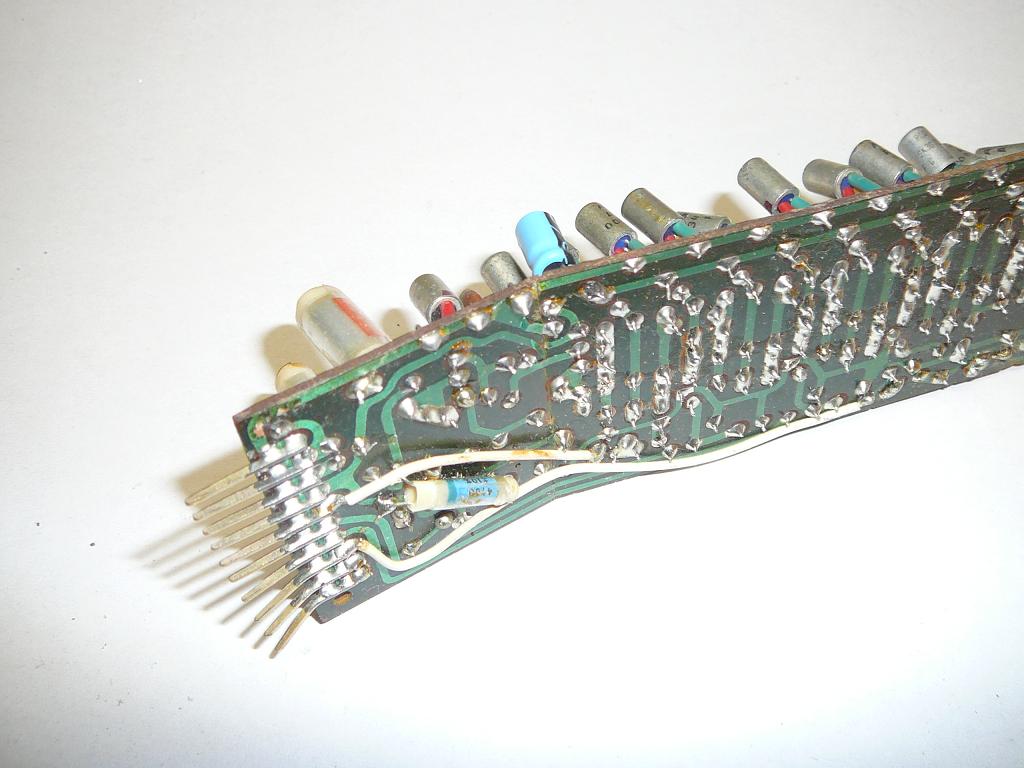
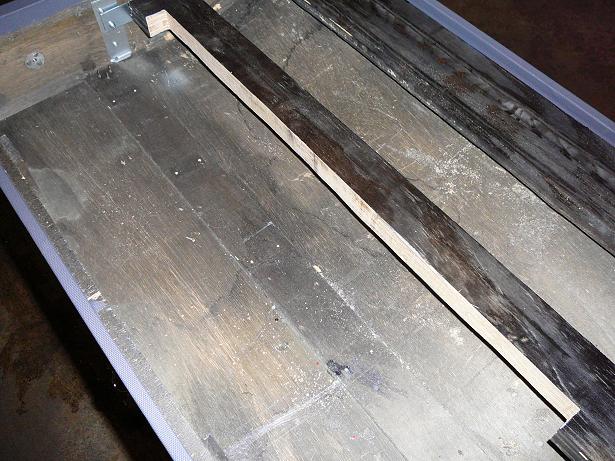
Some of the boards got cracked in shipment
2/10/2008
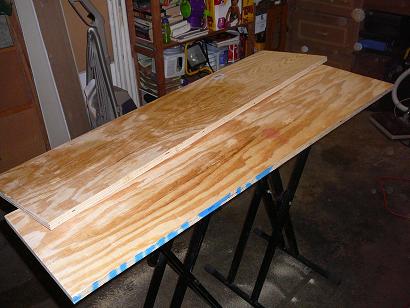
The missing key frame assembly piece has been supplied by a donor organ! So work now begins to fabricate the other piece that was missing -- namely the large wooden shelf that hinges up and many of the organ components mount to. The original shelf is constructed from 1 1/8 inch thick plywood, is approximately 11 inches wide and 34 inches long. Luckily I have the complete Italian continental which I can use to make a replica of this shelf. First order of business here is to get a piece of plywood together that is 1 1/8 inches thick. When it comes to wood working, I do not have many fancy tools so I make due with what I have. Most economical way to get this non-standard thickness was to purchase a 2 foot by 4 foot piece of 3/4 inch plywood from my local hardware store. I sliced the piece in two lengthwise using a sabre saw and then applied a generous amount of yellow wood glue to both pieces and clamped them together. This left me with a 24 inch by 48 inch piece of 1 1/2 inch thick plywood. Once this dries, I will get creative with my router to plane it to the correct thickness, size and make all of the necessary cutouts like the original. Here are photos from todays project:
Sheet of 3/4 inch plywood from local hardware store
Piece was sliced in half lengthwise
Generous amount of woodglue applied to both pieces. Pay attention to match the crown of the wood.
Pieces were clamped to dry. Since this piece is about 1 inch wider than I will need, I also used a few wood screws for good measure along the extra to help clamp it down.
2/16/2008
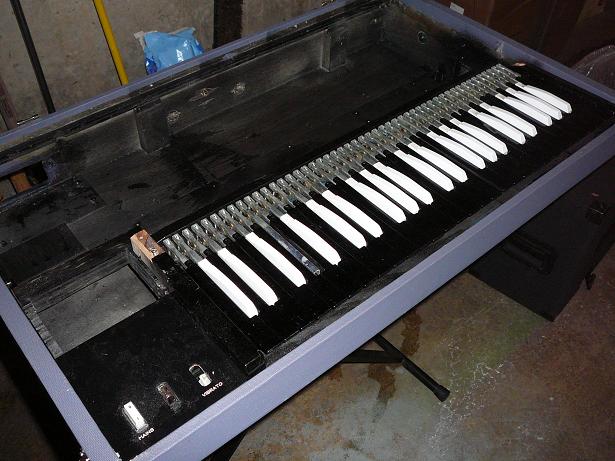
Today I worked on fashioning a replacement shelf because the original was missing. Someone tried to retrofit this organ with a hammond waterfall type keyboard, as the story goes. We're going to put it back to the original state. Luckily I have a complete continental which I used as a template for replicating the shelf. But as you will see there is a slight difference between this keybed and my own. Mine is the type which has an adjustment screw on each key. This one does not. It also attaches slightly different to the shelf as you will see.
Recall that the shelf on the original is 1 and 1/8 inch thick plywood. I glued two 3/4 inch pieces together to get a 1.5 inch thick slab. First thing was I cut it to the correct rectangular dimensions using my mitre saw for the short cut and a sabre saw for the long cut. I used a 2x4 as a fence for the long cut to help keep it straight. Now, I do not have a planer, which would have been ideal to get this wood to the correct thickness. So I went through the arduous task of setting my straight router bit to the correct depth and chipped away. Any bits that I couldn't get with the router, I got with a chisel. Ended up with the 1 and 1/8 thick piece. Now it was time to make the internal cutouts. Luckily the left side, where the drawbar assembly and switch panel mounts was included so I could see how this was routed out. That made things much easier. It is by far the most complicated cutout on this shelf.
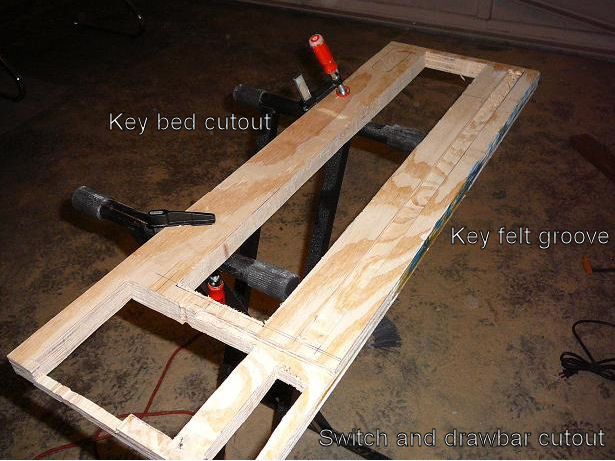
After cutting the piece to the correct dimensions, cutouts were made in the shelf for the switch panel, drawbar assembly, key bed, and key felt. There was a substantial amount of routing, cutting and chiseling that went into this coming together.
I used a 2x4 and clamps as a fence to guide my router for some cuts.
This was a surprise. The keybed for this organ is slightly different than my own Italian continental. Instead of being straight, at the front edge, it has a 90 degree bend and bolts on from underneith. Since I replicated the cutout on my own Italian, it did not fit this keybed. I needed to think on my feet here and route out an additional half inch wide by half inch deep slot.
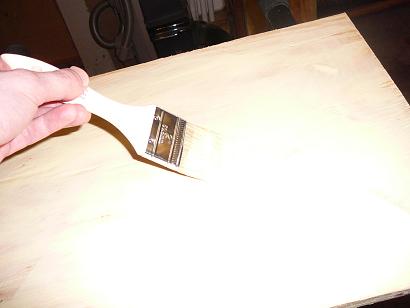
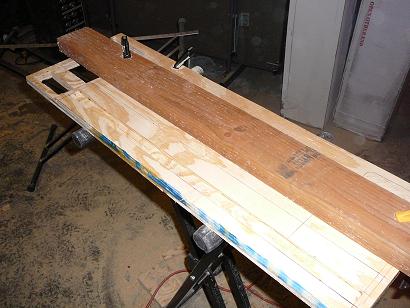
There! Now everything fits. I sprayed the shelf black and called it a day. Whew! This was a big job for me due to the small number of tools I have. Ideally one should have a planer, table router, and table saw for this job. I made due with what I had, a sabre saw, handheld router, mitre saw, and chisels. The pictures simplify what was an all day project. For the limited tools I have, this project was really pushing the bounds of what I can do. Wish I had a complete woodshop. Maybe someday. For now, I make due with the tools I have. The keen eye will note that I did not yet cut out the section along the back. If I install the shelf like this, then it will strike the oscilator boards when upright. I decided to leave the extra wood for now because the next project is going to be fashioning some kind of hinge for the right side which is missing a hinge. I may need the extra wood to do that. Not sure yet. Stay tuned!
Painted shelf black
3/23/2008
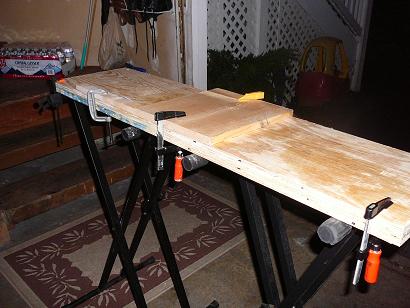
This weekends project was to fashion a replacement hinge for the missing one, mount the wooden shelf, and bolt on the key bed.
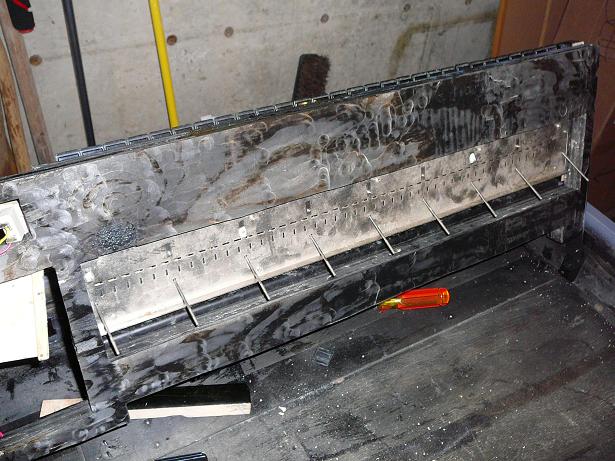
I found some metal straps at the local hardware store. Not knowing exactly what was going to work, I grabbed two different kinds that looked promissing. The first thing was I went ahead and mounted the one original hinge that I had. Once that was mounted, I measured how far out the hole was so I could match the makeshift hinge as close as possible. The challenge here was not the actual work but was more the thought process that went into figuring out what to use to fashion this hinge. The final solution is a thick metal strap screwed to the side of the shelf, very similar to the original hinge. The original hinge is two pieces -- one piece mounts to the shelf and has a hole in it. The second piece screws onto the organ cabinet and has a cylindrical piece protruding from it which fits into the hole. The replacement hinge is very much along those lines. The metal strap I got from the hardware store had 4 holes predrilled in it. For the matching piece, screwed into the organ cabinet, I used one of those metal T nuts. That's right, the same kind the Z stand bolts onto. I just went ahead and screwed it in place by driving a wood screw through the middle of the T nut. Then for strength, I took another piece of metal strap and screwed it over the flange of the T nut to secure it into place and give extra strength. Then shot the whole hinge in black spraypaint so will blend in with the original.
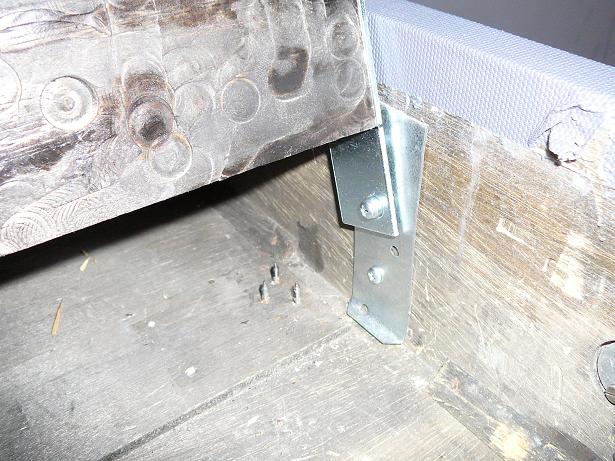
Here is the replacement hinge
Kind of hard to see but this is the metal strap screwed to the side of the shelf. I did have to shave off about 1/16 inch where this metal strap screws on, otherwise the shelf would be too wide to fit in the cabinet.
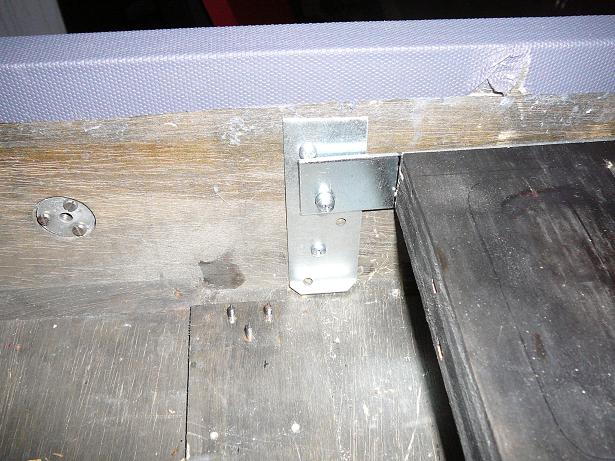
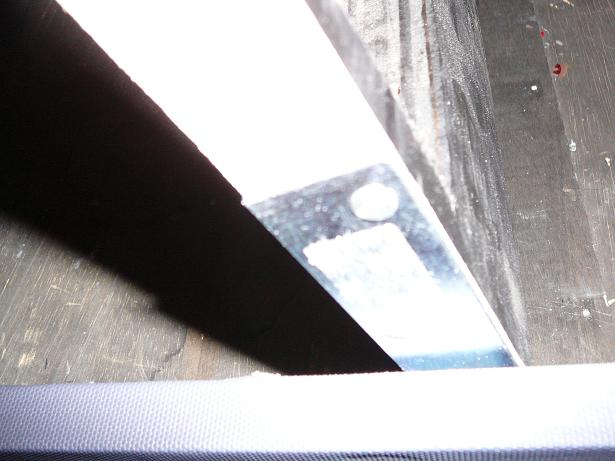
Here's the hinge from another angle. You can see the T nut here with the woodscrew driven through the center of it.
I went ahead and made the cutout on the shelf so it will not hit the tone boards when hinged upright.
Here's everything layed out on the shelf to make sure it all fits.
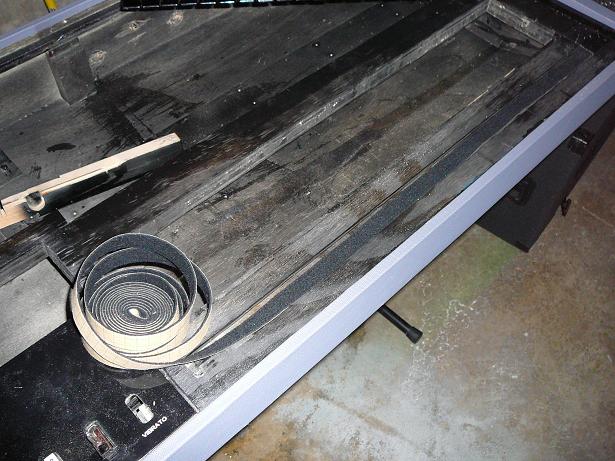
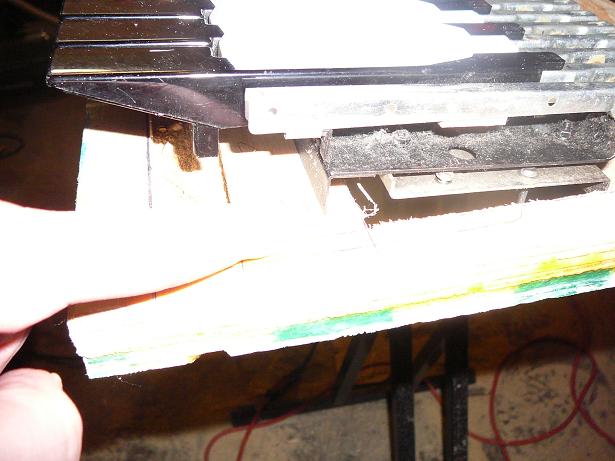
I used felt with an adhesive backing to line the groove.
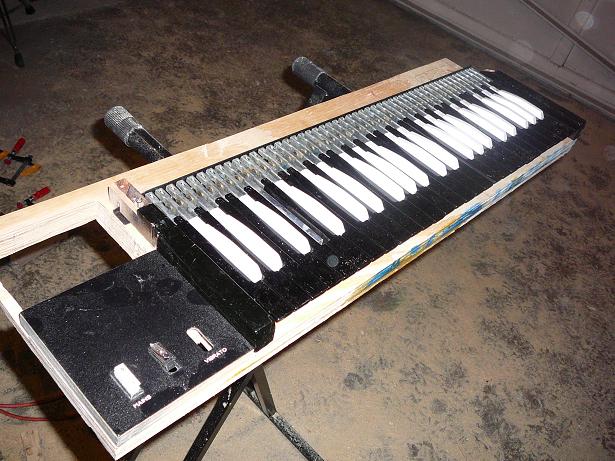
Here's with the keybed bolted on and the shelf upright. Seems to hold the weight just fine.
I used the orange top from my other organ to test fit and make sure I didn't end up with any wrong spacings. Fits good!
Here's an overhead shot. It's starting to look like a Vox!
11/23/2008
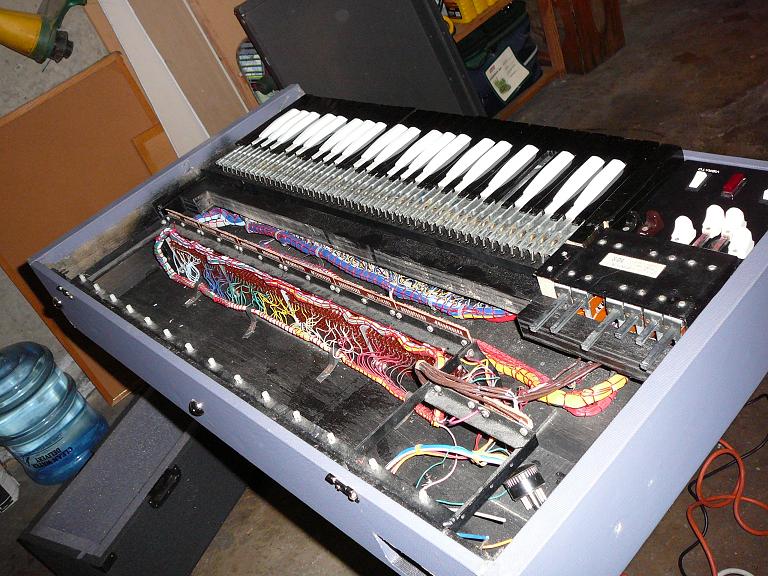
This weekend I began installing the guts of the organ.
But first, I had a piece of business left over from the previous project of mounting the keybed. I was never happy with the way the keys felt in this keybed. Many of the keys bottomed out on the felt pad. So I decided to remove the keybed and further route out the area where the felt pad sits. Using a dremel, I shaved off 1/16-1/8" of wood along the groove.
After completing this, I painted the groove black, reinserted the felt, and mounted the keybed. This made a noticeable improvement. The keys feel as they should with the new fitting.
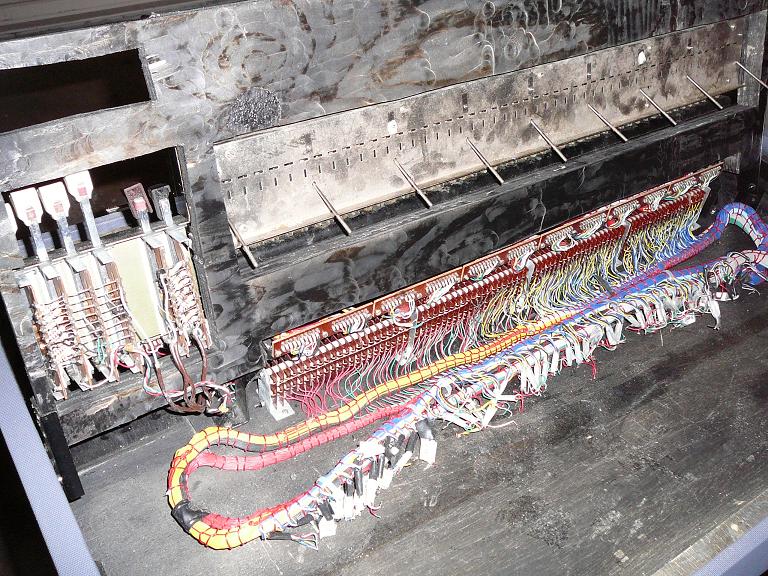
Next order of business was to lay the main metal shelf and attached circuit boards into the organ case and look to see how everything was going to line up.
I began screwing in the circuit board frame. As you can see here, there are several areas where the frame mounts to the wood with screws.

So far, so good, here is a couple of photos with these components mounted.
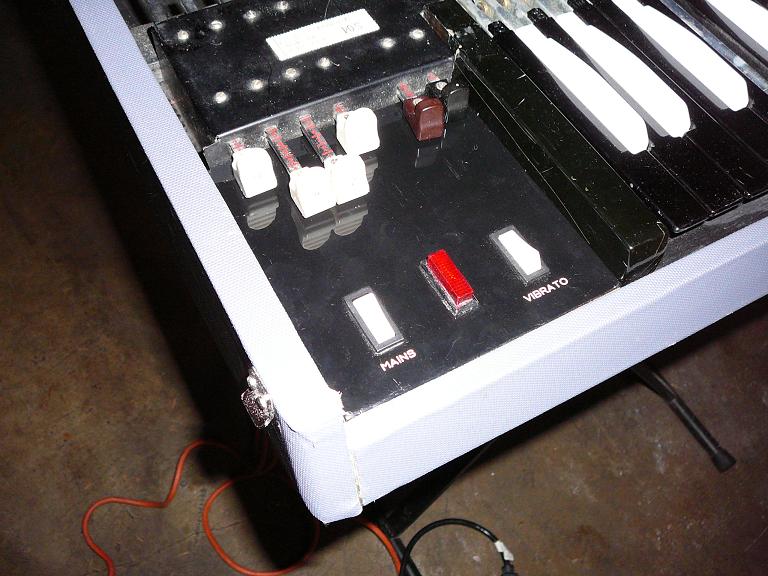
I then turned my attention to the switch panel. The panel is missing a switch and the included power switch feels bad. The neon bulb also has had its housing disassembled.
Here's the switch panel after installing two new switches of similar appearance to the original and also reassembling the bulb housing. Luckily the housing was included in the bag of assorted parts.
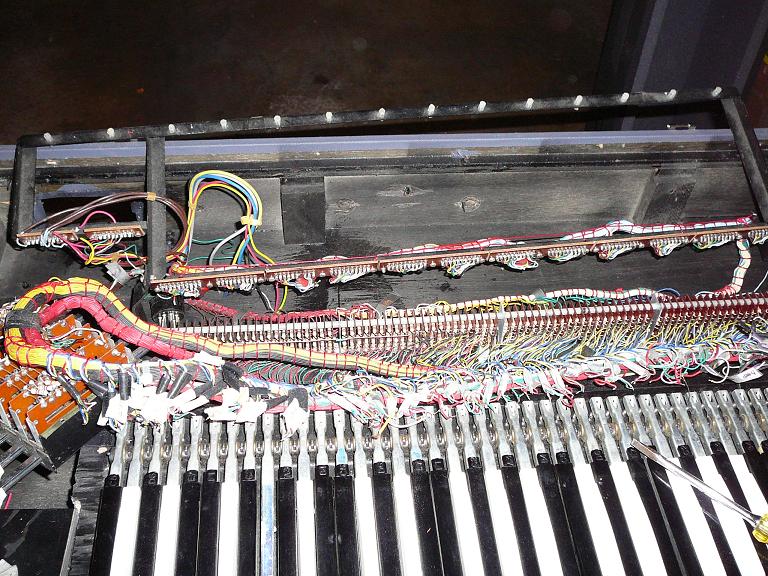
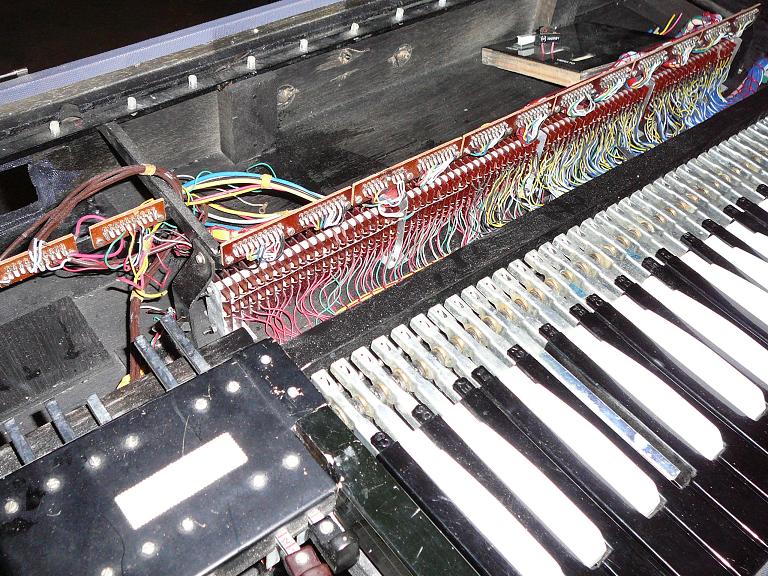
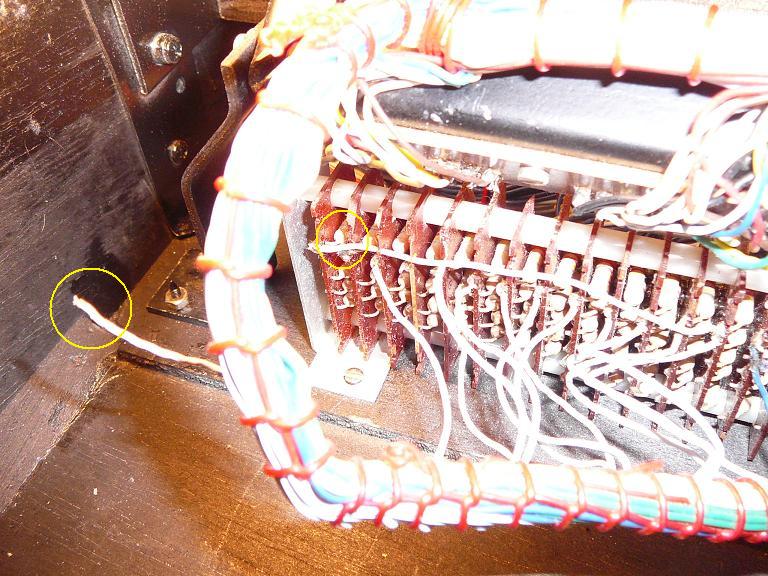
I turned my attention to a few dangling wires that I noticed when installing the metal frame and attached circuitry. There were about 4 of these wires (two blue and two brown) that I soldered back into place. Luckily it was pretty easy to see where they had come off so it was just a matter of soldering them back on.
Here's how it looks so far with the installed components. As you can see, I used a staple gun to reattach the strain reliefs along the wiring bundle.
The last thing I did was fit in the power supply. However, I have a feeling I will be spending time rebuilding this power supply. It looks tampered with. There is also a missing fuse holder cap which will need replacement. This one is different than on my Italian Vox. There are markings 125, 220, and 160 along the edges of it. I have a feeling this is so the organ could be used in multiple countries? I'm not sure how this works and will have to do some reasearch. If anyone has an organ with a fuse holder like this, please email and let me know any info.
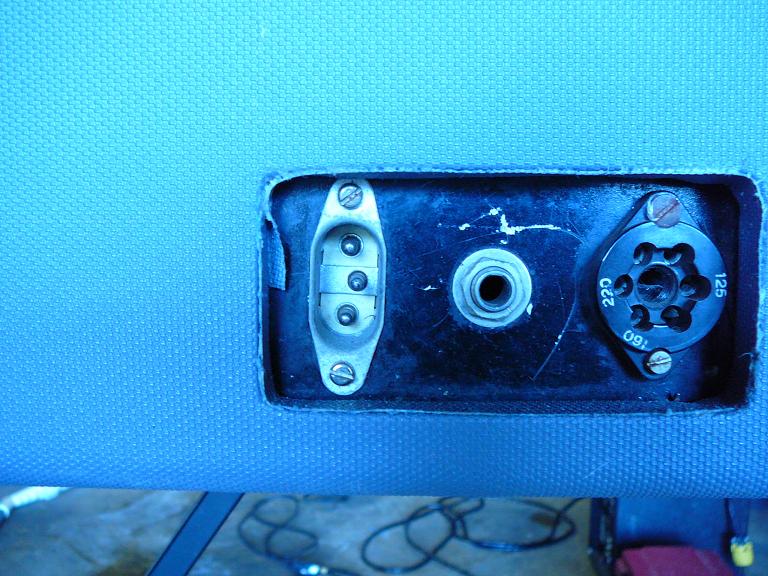
UPDATE! I received an email from a fellow combo-naught who informed me this is strictly a voltage switch and not a fuse holder. There is no need for a voltage switch here so rather than source the rare missing part, I will most likely hard wire the power supply to work for 120VAC. I was informed this selector switch is similar to those used on HIWATT amps. More information is available at this link: http://mhuss.com/Hiwatt/vsel.html